TechDocs is Spotify’s homegrown docs-like-code solution built directly into Backstage. Backstage gives teams one front-end view for all their infrastructure tools, like Google Cloud Platform, Cloud Bigtable, CI pipelines, TensorFlow Extended, and others, all in a consistent, easy-to-use interface, or portal. It’s open source software released by Spotify.
With TechDocs built into Backstage, all the engineers write their documentation in Markdown files which live together with their code. You can read more about their docs-as-code story in this article. In this post we will walk you through how to setup Backstage and Techdocs.
Table of contents
- Introduction
- Basic concepts and structure of Backstage and TechDocs
- Install Backstage
- Setup TechDocs
- Create and publish documentation
- Publish to cloud storage (example)
- Recap and summary
Introduction
Backstage is a platform for building developer portals, giving one view into developer tools.
Its main benefit is allowing you to ship high quality code fast thanks to consistent views of your tools and infrastructure.
The features you get out of the box are:
- Service catalog
- Software templates
- Plugins which allow you to extend Backstage functionality
- TechDocs, which is the focus of this post
These features allow you to create standards and best practices across teams. It increases the speed of development. It creates a good developer experience for everyone who uses it. You centralize all your tools and information in one place.
In this post I will take you through the basic concepts and structure of Backstage and TechDocs, an installation of Backstage including the setup of TechDocs, creating and publishing documentation, all on a local machine on MacOS.
Basic concepts and structures of Backstage and TechDocs
The focus of this article is TechDocs, so I will go through the main features at a high level.
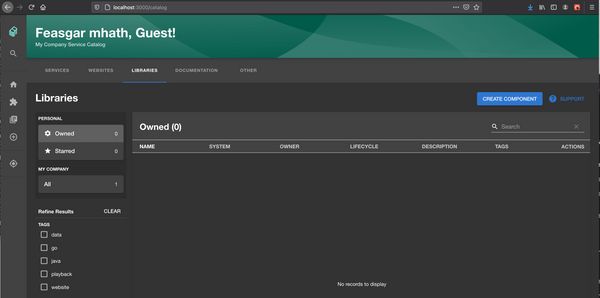
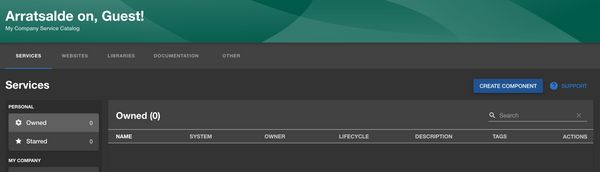
- Service catalog - It keeps track of ownership and metadata for all the software in your ecosystem. Backstage does this by putting metadata in YAML files stored together with your code. You process these files and then you can visualise the catalog in Backstage. This catalog enables your teams to manage and maintain the software they own, making the software discoverable.
- Software templates - This feature allows you to create templates or skeletons of code. These templates are published to GitHub.
- Plugins - Allow you to integrate third party tools or any kind of infrastructure into Backstage. They are open source and you can view a list here.
- Techdocs - Yay, finally, why we are here. Techdocs is Spotify’s homegrown docs like code solution. It allows the user to store documentation near the relevant code, thus allowing the docs to be easily discovered and maintained.
When you deploy Backstage with Techdocs enabled you get a basic out of the box experience.
At its core, TechDocs is an MKDocs plugin with other MkDocs plugins and Python Markdown extensions which allows it to standardize the configuration of MkDocs used for TechDocs.
You can see the source code for TechDocs here.
The other moving parts are:
- The TechDocs container which can be found on DockerHub at https://hub.docker.com/r/spotify/techdocs, which builds static content through MKDocs.
- The Techdocs backend plugin which is the backend part of the TechDocs plugin.
- The Techdocs CLI, a handy command line tool for managing TechDocs sites in Backstage.
- The Techdocs reader, it fetches remotes pages, runs “transforms” against them, and renders them in a shadow DOM.
- The Transforms API takes in parameters from the reader component and returns a function which gets passed the DOM of the fetched page.
Architecture
When you open a TechDocs site, a request is made. The TechDocs reader calls the TechDocs-backend with the entity id and the path of the current page. The response contains the static content. The static content contains HTML and CSS, and any JavaScript is removed for security reasons.
Transforms are then applied which modify the generated static HTML files for a number of reasons like removing certain headers and so on.
For the following instructions, since we are using a local install for demonstration and trial, we will use the local file storage, but in production you would use cloud storage like S3.
Install Backstage
If you have any difficulty with the installation, you can log an Issue in the Backstage repository.
Prerequisites
Mac running MacOS
Node Version Manager (nvm) so that you can ensure you’re using Node version 14. Run:
curl -o- https://raw.githubusercontent.com/nvm-sh/nvm/v0.37.2/install.sh | bashorcurl -o- https://raw.githubusercontent.com/nvm-sh/nvm/v0.37.2/install.sh | zshon MacOS Catalina and newer.Node version 14.x (Cannot use Node version 15.x) (You can use
brew install nodeto install on MacOS if needed.) Runnvm use --ltsso that you can run Node version 14.15.5 for this demo.Yarn (Use
brew install yarnfor this demo.)
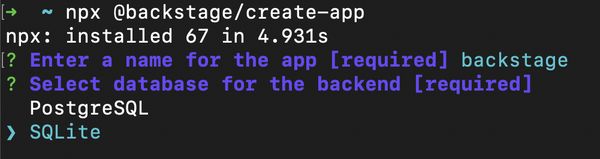
If you already have Backstage installed, then you skip this “create-app” step. First, create the initial app in any directory you choose:
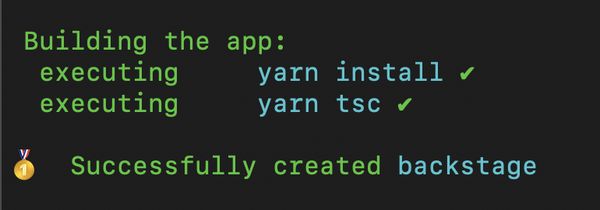
npx @backstage/create-appThis will take a few minutes.
You are asked some questions on setup. The recommendation for this local tutorial is to go with SQLLite by using the down arrow when prompted.
Change into your created app’s directory, the name you used for the app. In this example the name is infraportal:
cd infraportalThen run:
yarn workspace backend start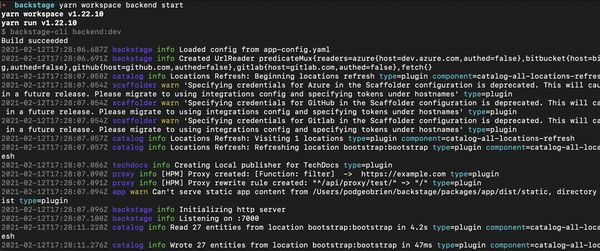
Open a new terminal window and change directories to the infraportal where you created the app.
cd ~/src/backstage/infraportalThen start the app with this command:
yarn run start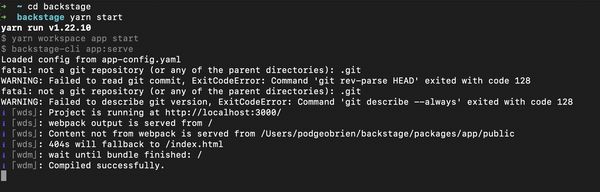
If successful, a browser window opens and you should be presented with a window.
Well done, you have successfully installed Backstage on your local machine.
Setup TechDocs
Historically you had to manually add Techdocs, but now the latest version of create-app bundles TechDocs.
To verify this setup, you should be able to see entries for the plugin '@backstage/plugin-TechDocs'; in the following files:
packages/app/src/plugins.ts
packages/app/src/App.tsx
Creating and publishing TechDocs
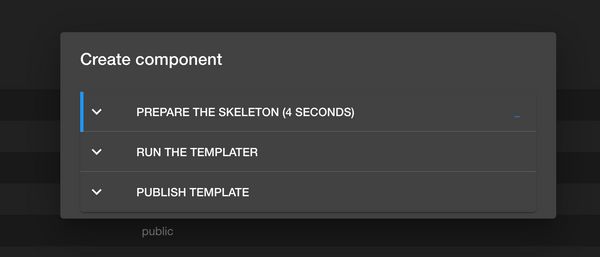
To create docs manually from scratch, click on Create component:
From here choose the Documentation template.
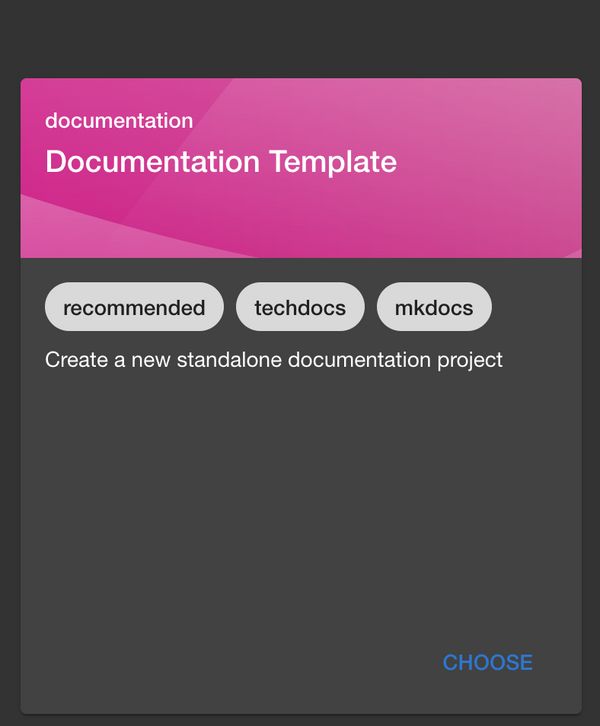
Fill out a Name and Description.

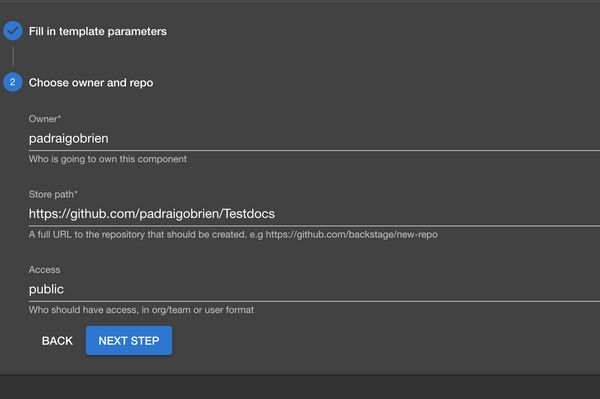
Have a GitHub org or owner and a GitHub repo ready to use for your docs. Have a GitHub token created and available in your environment as GITHUB_TOKEN. Type in the GitHub owner and the GitHub repo you want to use. Make sure there is no GitHub repo that exists with the same name or the Templater will fail.
Once you click on create you will be presented with a Create component status popup.
Once the repository has been published to GitHub, the Create component status popup will show green like below.
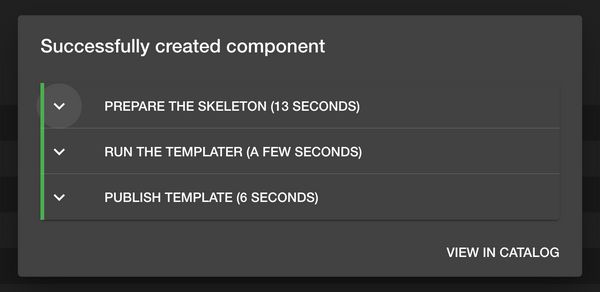
You will be able to navigate to the docs.
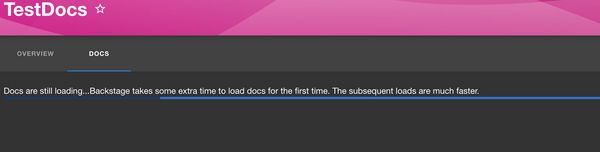
If this is the first time you are loading the docs, you could receive this message while it converts from Markdown to HTML.
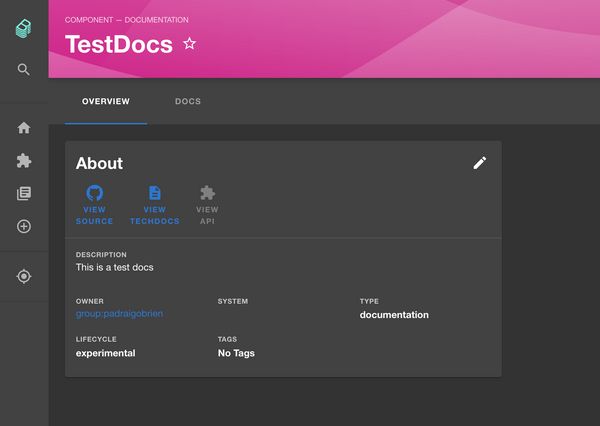
Here is a screenshot of what you will be presented with.
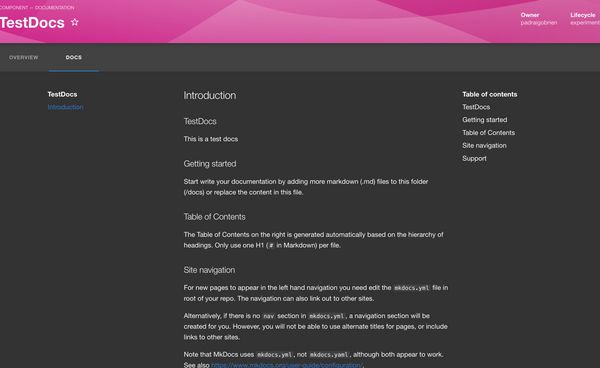
You now have TechDocs up and running on your machine. Well done. If you want to view the files and work on them locally they are located at the following location on your machine:
backstage/node_modules/@backstage/plugin-TechDocs-backend/static/docs/default/Component/Your workflow would be to work on the files, preview locally, then commit your changes and send in pull requests, using your team’s Git workflows.
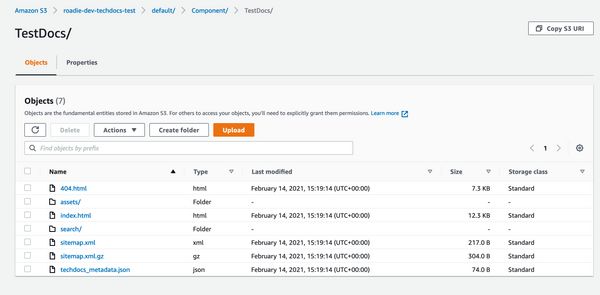
Publish to cloud storage
The recommended setup is to place the output on to cloud storage such as S3, and not on the local machine, so let’s look at that.
Note: This section is just an overview, and not a full tutorial, because there are a lot of prerequisites for setting up cloud storage. If you’re interested, read the AWS S3 documentation about Creating a bucket and the Buckets overview.

When you startup Backstage you should see this message in the logs to confirm you are using cloud storage:

You will also see the content in the S3 bucket.
Recap and summary
In summary, we went through an introduction on Backstage, TechDocs, and how to publish TechDocs locally. We took a look at the cloud storage option with some screenshots showing S3. To learn more about Backstage I would recommend visiting https://backstage.io or if you want to learn more about TechDocs then https://backstage.io/docs/features/techdocs/techdocs-overview offers a great overview.
You can also read about the gains the team at Spotify has seen since using TechDocs for all their documentation in Ten tips for maintaining a long-term relationship with docs like code. TechDocs has a really nice project board in GitHub, so if you’re interested in working on it yourself, take a look.